Fire exit sign rules: seven things to get right on your escape route
 Save
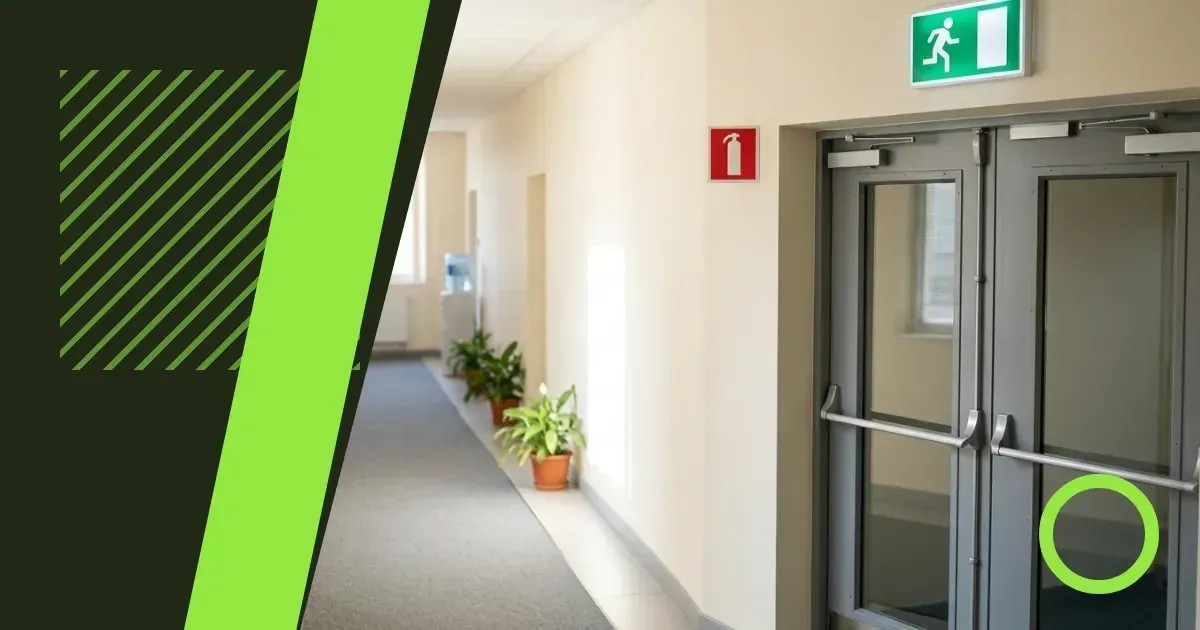
Fire exit sign rules come down to three requirements: a sign has to be visible from the route it serves, it has to stay readable when the ordinary lighting fails, and it has to point at a door that opens without a struggle. Meet those and the detail falls into place. What follows from Fred Duncombe works through placement, design, lighting and door hardware, then closes with a walk-round check you can repeat through the year.
Start with the job the sign does
A fire exit sign either identifies a final exit or marks a route towards one. Those are different jobs, and a building needs both wherever the way out is longer than a straight run to a door.
Problems start when a site has door signs and nothing else. Someone who has never used the back stair heads for the entrance they arrived by, which may be the route that is unusable; directional signs at junctions close that gap cheaply.
Place signs along the route, not only over the door
Work backwards from the furthest point where anyone could be standing. Each turn, each door that forms part of the escape route and each change of level needs a sign confirming that the direction still holds.
Height works with position. A sign fixed above head height and clear of the door swing stays visible; one at shoulder level disappears behind the people walking through. Keep the approach free of stacked chairs, coat hooks, heaters and pin boards.
Keep the final exit sign clear of the door
A sign on the back of a door that stands open faces the wall, not the room. Fixed to the face the room sees, or to the wall beside the door, it works whether the door is open, closed or hooked back.
Signage also makes a promise about the door beneath it. A final exit that needs two hands, a key or a knack fails the moment people hurry, so settle what a panic bar does and when one is required before you touch the signs.
Choose a sign design that reads at a glance
The running-figure pictogram is recognised before it is read, which is why it carries more weight than any wording. Pair it with consistent contrast and keep one family of signs rather than mixing styles floor by floor.
Size follows viewing distance. A sign read from the far end of a corridor must work as a shape long before any lettering matters. One modest size everywhere saves money and leaves the long corridor badly served.
Make the arrow agree with the walk
An arrow should describe the direction a person has to move, not the direction the door faces. Where a sign sits directly over the final exit and no turn follows, an arrow adds nothing.
Light the sign so it survives a power cut
Two approaches do the job. An internally illuminated sign runs on the emergency lighting circuit, while a photoluminescent sign stores light in its material and gives it back when the supply drops.
Powered signs divide again into maintained emergency lighting, lit at all times, and non-maintained fittings that strike only when the supply fails. Both need testing, and the test needs recording, because an untested fitting is an assumption rather than a safeguard.
Glow signs carry a condition that catches people out: the material charges only where the area is lit in normal use. Fit one in a stairwell that sits dark all evening and it has nothing to give back. Smoke also gathers at ceiling height, which is where low-level route marking earns its place.
Match the sign to the hardware on the door
A sign is only honest if everything behind it works. On a hold-open door, an electromagnetic door holder releases on the fire alarm and lets the door close; a magnet that sticks persuades someone to wedge the door instead.
Closers deserve the same attention. A door that slams shuts the route noisily and teaches people to prop it open, so a badly set closer undermines the sign above it. Turning down the closing speed and checking the latch takes a short visit.
Compare the sign options before you commit
Options differ in how they get their light and how much wiring they demand. Our comparison sets the common choices side by side.
| Option | How it works | Where it suits |
|---|---|---|
| Photoluminescent sign | Charges from the light around it and glows when that light fails | Corridors and stairwells that are lit in normal use |
| Internally illuminated sign | Lit from inside and wired into the emergency lighting circuit | Final exits, deep stair cores, windowless rooms |
| Emergency luminaire aimed at a standard sign | A separate fitting throws light onto the sign face | Retrofits where the sign itself cannot be changed |
| Directional route sign | Pictogram with an arrow, placed where a choice has to be made | Long, unfamiliar or shared escape routes |
Mix the options where the building asks for it. A corridor lit all day carries a photoluminescent sign happily; a windowless stair with a record of failures is better served by a powered fitting and a written test log.
Run a check you can repeat
A walk round with a clipboard settles more than a folder of certificates. Follow the route as a visitor would and note what you see, not what you remember fitting.
- Start at the furthest point of the route and follow it to the open air, listing every turn without a sign.
- Approach each sign as a stranger would and confirm it is legible, undamaged and unblocked.
- Press the test switch on every illuminated sign and fitting, and write down the result.
- Open each final exit, checking that it releases with a single action and swings clear.
- Record who checked and when, then book the next walk round before the notes go in the drawer.
Sorted faults stay sorted only while someone owns the routine. Where a door has begun to fight back, our notes on how to stop a fire door slamming cover the adjustments behind it.
Take the first steps this week
None of this needs a contractor on site. A few small jobs move the picture.
- Photograph every sign on your route and study the images together, which shows up gaps faster than walking room by room.
- Order a spare for the one position that is damaged, so the gap closes without waiting for a wider order.
- Show the cleaning and security teams where the signs sit, because boxes and coat racks land where nobody has explained the route.
Published as general information only; it does not replace an assessment of your own building.
Download PDF: Fire exit sign walk-round checklist PDF, 29 KB